This page describes the original method for recording Gift Aid Declarations on an Epos Now till. This method is deprecated on new accounts. This page is retained to support legacy accounts. Please see Introduction to the Gift Aid Recorder App for Epos Now for the latest information.
This pages details the steps necessary to configure Epos Now for compatibility with Gift Aid Recorder when processing Gift Aid on Cash Donations, the process for accepting verbal Gift Aid Declarations at the till and completing qualifying transactions.
Configuring Epos Now
Customer Type
Open your Epos Now Back Office and use the menu system to navigate to System – Customer Types. Use the “Add a new Customer Type” form to add a new customer type with a description containing “Gift Aid” e.g. “Gift Aid Donor” or “Gift Aid Admission”.
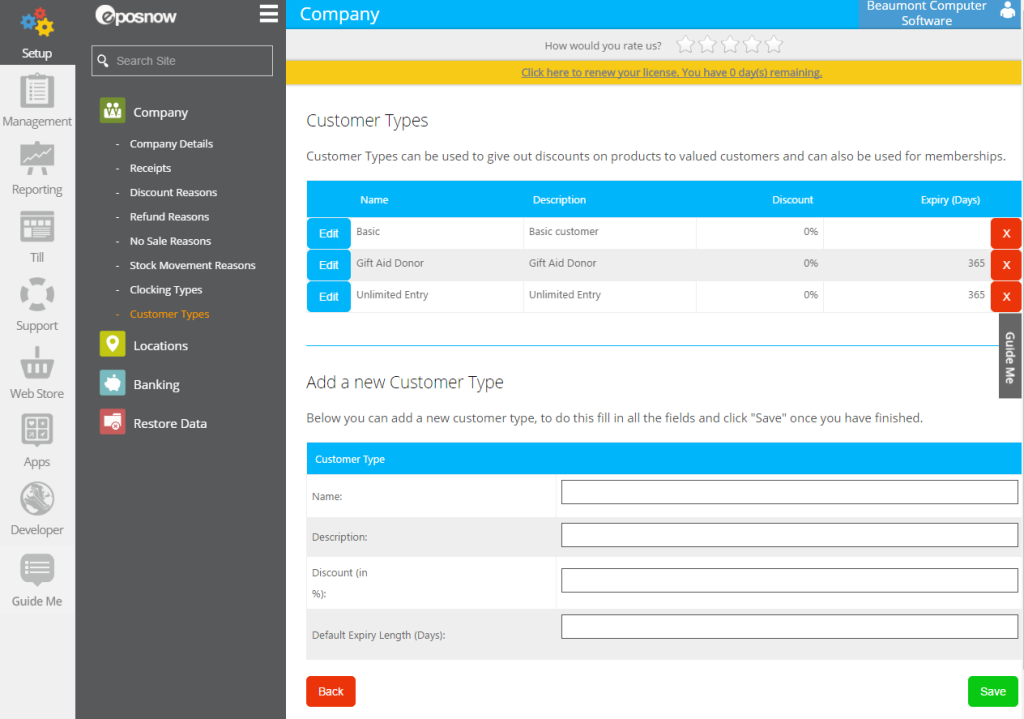
Note: The customer type is used to identify customers as Gift Aid donors when a written or verbal declaration has been provided.
Miscellaneous Products
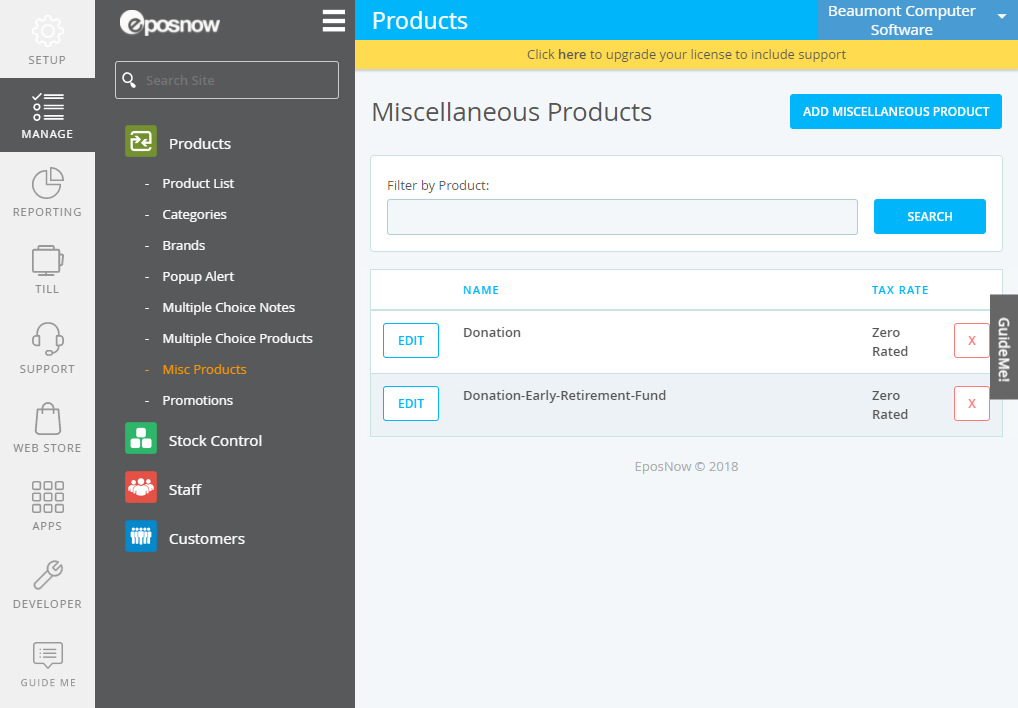
Use the menu system to navigate to Manage– Misc Products. Click the “Add Miscellaneous Product” button to create one or more miscellaneous products. Use the word “Donation” in the “Name” field to indicate where a miscellaneous product should be treated as a donation.
Processing Cash Donations
To qualify for Gift Aid a Gift Aid declaration must be obtained. This can be written or given verbally. Specific rules apply.
Customer
When a visitor agrees to the terms and provides a Gift Aid declaration a new customer record must be created and assigned to the transaction.
Note: If you have the loyalty module the process may be different.
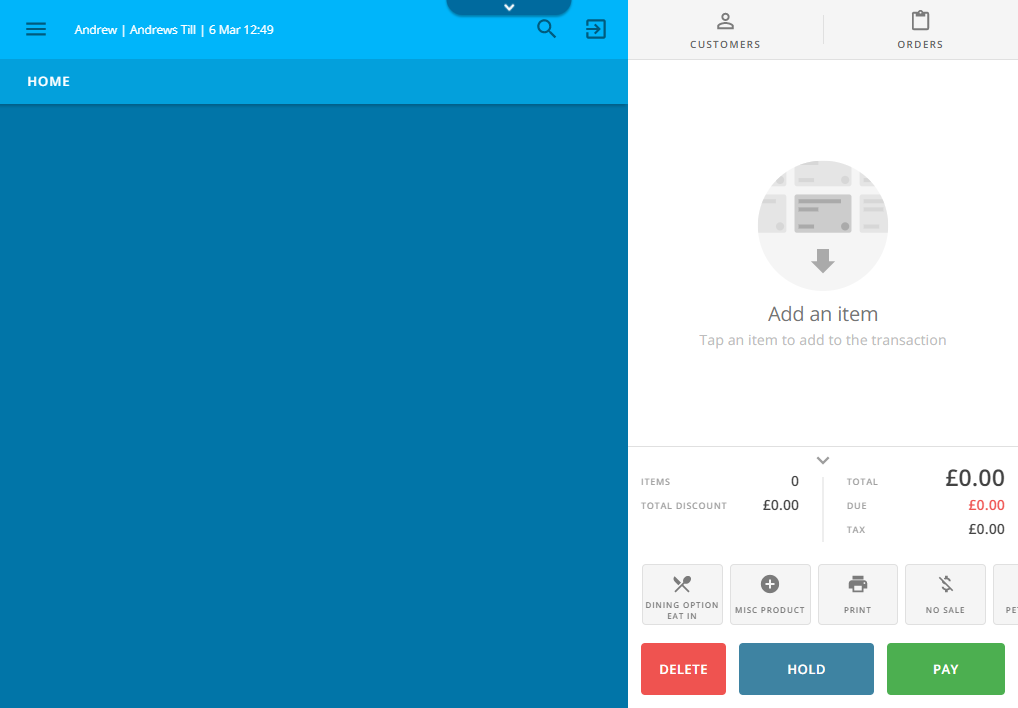
Click the “Customers” button on the Epos Now till.
Click “Add New Customer”
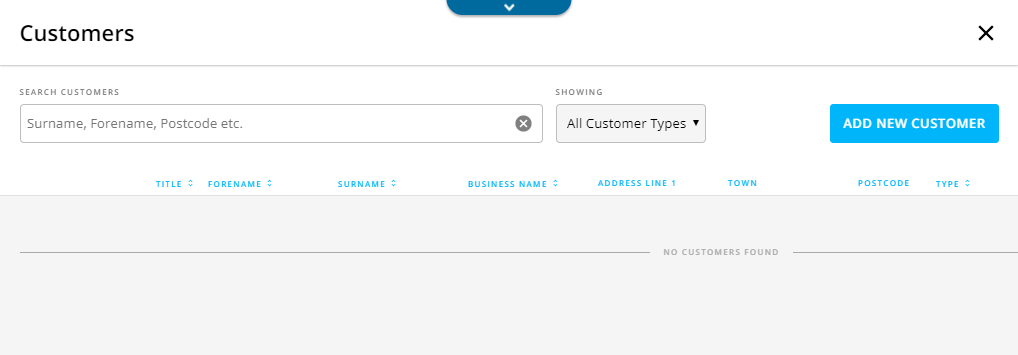
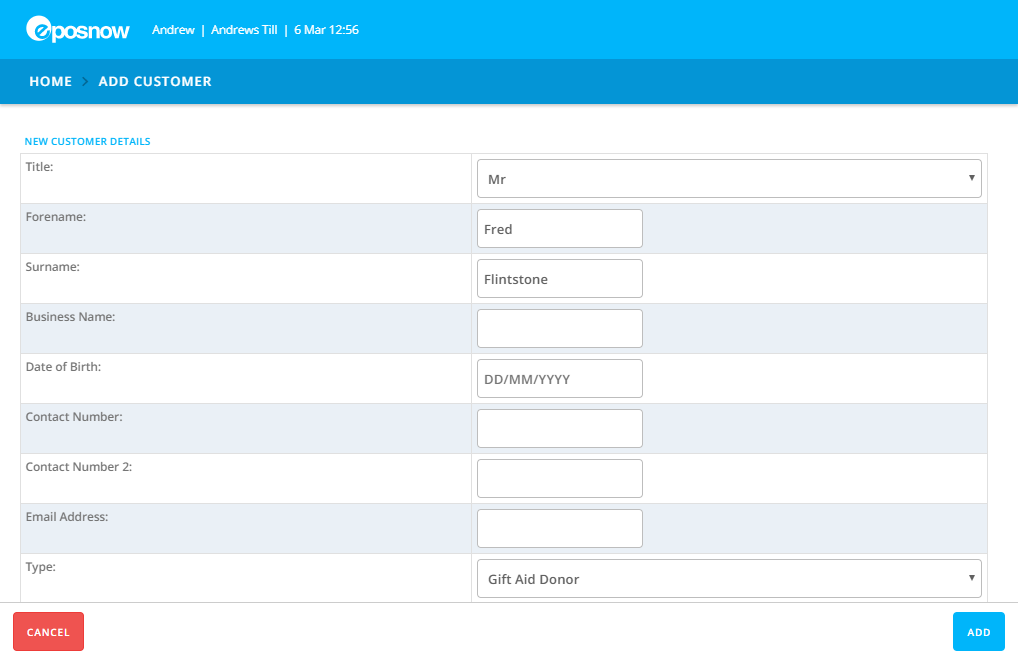
Complete the customer details. The Epos Now customer features do not allow for validation of customer data. It is possible to correct errors and omissions in Gift Aid Recorder but ideally you should aim to complete the customer details in full. Title, forename (at least initials), surname, type and address line 1 are required fields. If provided postcodes and contact numbers must be formatted correctly.
Customer type is used to indicate to Gift Aid Recorder that a Gift Aid declaration has been obtained. This is indicated by inclusion of the phrase “Gift Aid” in the customer type description. It is essential that the correct customer type is selected prior to the transaction being processed.
Click “Add” to create the customer record and assign the customer to the transaction.
Display returns to the till front. Notice the till now indicates that the new customer has been selected. Select the appropriate item from miscellaneous products and click “Pay” to process the transaction.
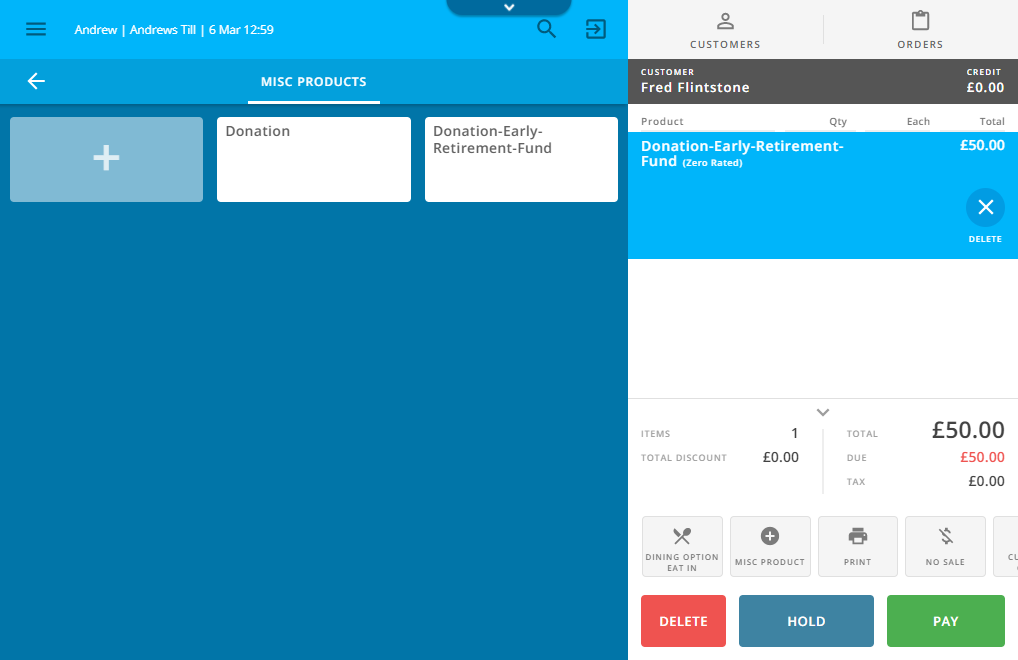
Note: Qualifying miscellaneous products are identified by having the word “donation” in their name. Also note that it is OK to add other non qualifying products to the same transaction.
Next Steps
Confirming Gift Aid Declarations